> For the complete documentation index, see [llms.txt](https://sharinghub.kittenbot.hk/llms.txt). Markdown versions of documentation pages are available by appending `.md` to page URLs; this page is available as [Markdown](https://sharinghub.kittenbot.hk/wifibrick_iot/wifibrick/wifibrick_intro.md).
# Wifibrick 介紹
### 簡介
Wifibrick 是Kittenbot Powerbrick 延伸的一款功能魔塊; 顧名思義, Wifibrick 提供了一個渠道, 把micro:bit 作為核心的系統, 通過wifi 連接到各IoT 平台, 如國外的Thinkspeak, 本地的Makercloud 或中國移動的OneNet。
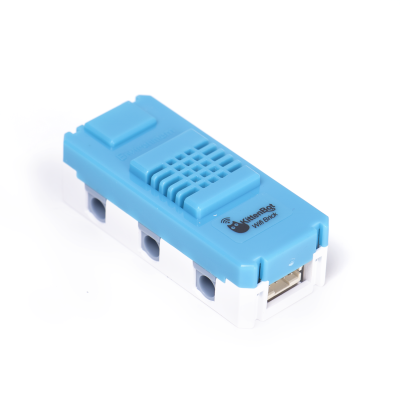
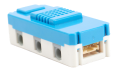
它的外型跟Powerbrick 中的溫濕度方塊是同一個模樣; 但Wifibrick 上多了一個logo。

### 產品參數
工作電壓: 3.3 - 5V 工件電流: 62mA 尺寸: 56 (L) x 25 (W) x 20 (H) 接頭: PH2.0 4Pin 支援網絡: 2.4GHz 無綫網絡
支持 STA / AP / STA+AP 模式; 支持Smart Config 功能
### 特點
* 巿面上較少能直接配合micro:bit 使用的3.3V Wifi 模塊, 由Kittenbot 自家開發固件及makecode 編程積木, 方便易用。
* 內置紅﹑藍﹑綠指示燈, 連線狀態一目了然。
* 單插頭防反設計, 接線簡單減少失誤。

* 2則及背面帶有能配對樂高科技系列的插孔, 更易融合到模型中。
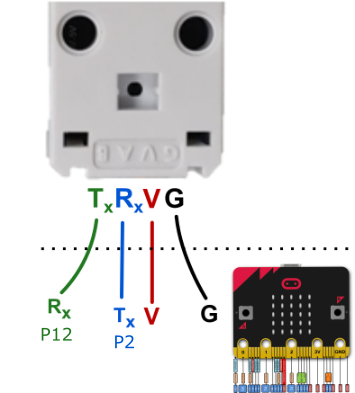
### 接腳解讀
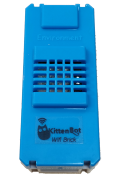
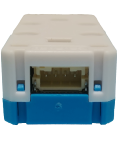
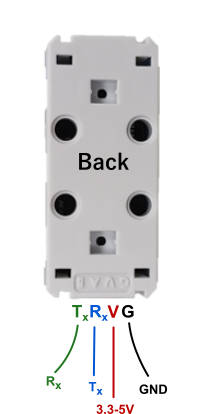
在Wifibrick 背面, 會看4支針腳的標示, 分別為 G﹑V﹑ A﹑ B,
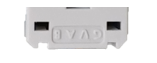
對應針腳功能如下:
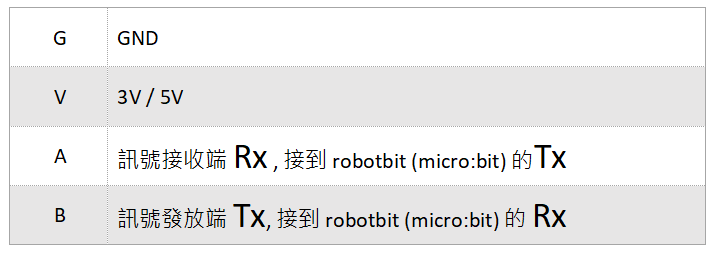
Tx = 發送數據 Transmit(*tx*) Data 的簡寫
Rx = 接收数據 Receive(*rx*) Data 的簡寫
### 接線方法
把wifibrick 連接到micro:bit 的方法很多, 建議配合Kittenbot 的擴展板 / breakout board 一拼使用。
詳細見下文:
#### Armourbit
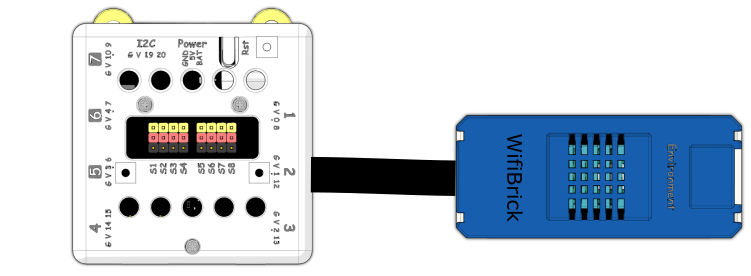
Armourbit 是Powerbrick 套件中的micro:bit擴展盒。只要把micro:bit 插進去, 就能通過armourbit 4則及背面的port 位, 把wifibrick 或 sensor 等配件連接到micro:bit 的pin 位。

{% content-ref url="/pages/7ZZHlockdeVzzfQeVDnE" %}
[Armourbit擴展盒](/functional_modules/pwmodules/armourbit.md)
{% endcontent-ref %}
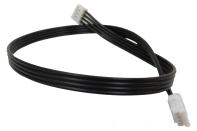
採用2端都是ph2.0 4pin 的接線
利用接線, 可把Wifibrick 接到Port 1 (需關閉buzzer), Port 2, Port 3 或 Port 4 也可。
下圖示範用上了Port 2, 對應的就是micro:bit 的p1 及 p12
下圖解有助稍後了解在編程中的設定
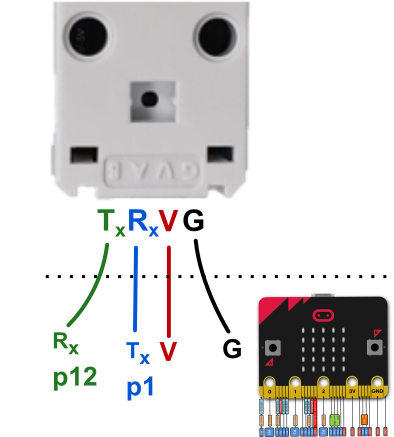
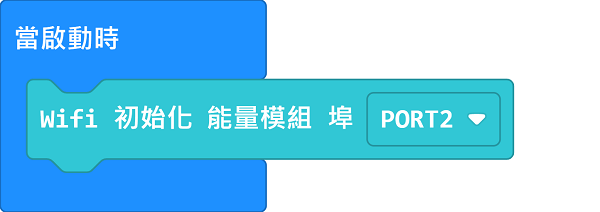
我們在MakeCode裡面就要相應地選擇Port2。
#### Robotbit Edu
{% content-ref url="/pages/30QXywcsst8ECdI3CUoP" %}
[RobotBit Edu](/expansion_board/robotbit-edu.md)
{% endcontent-ref %}
Robotbit Edu上已經提供了4pin的通訊接口,我們只需要將WifiBrick連接到通訊接口就可以了。
只需使用PH2.0轉杜邦線按圖例接線即可。

下圖解有助稍後了解在編程中的設定
由於Robotbit Edu的通訊接口使用了P2與P12,我們在MakeCode裡面就要相應地選擇引腳。

#### Robotbit
Robotbit 是Kittenbot 一款長青的擴展板, 兼容自家大部份外置模組, 包括Wifibrick
{% content-ref url="/pages/JUSZ2kYTicTsrrLfE99s" %}
[RobotBit 2.2](/expansion_board/robotbit-2.2.md)
{% endcontent-ref %}
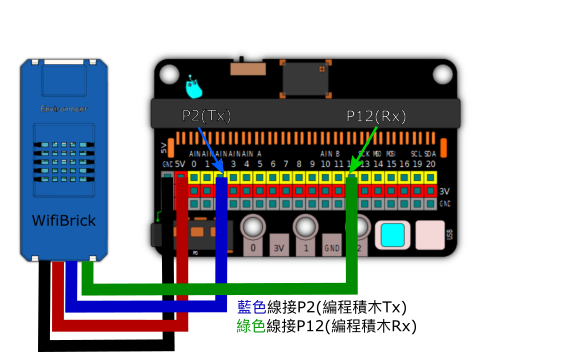
採用ph2.0 4pin 轉杜邦線; 利用杜邦端, 分別接到Robotbit 的G, V, P2, P12
接線示意圖

下圖解有助稍後了解在編程中的設定


#### IoBit
IoBit 接Wifibrick 的方法跟上述接Robotbit 的方法大同小異, 都是選定Rx, Tx 接到那支pin 就可以了。
下圖是接到IoBit 的G, V, P2, P12
### 編程方法
有關各平台與WifiBrick的編程方法請參考以下指引:
{% content-ref url="/pages/ehvNcGUPQrYiXJD5CHFa" %}
[針對各平台MakeCode編程](/wifibrick_iot/wifibrick_makecode.md)
{% endcontent-ref %}
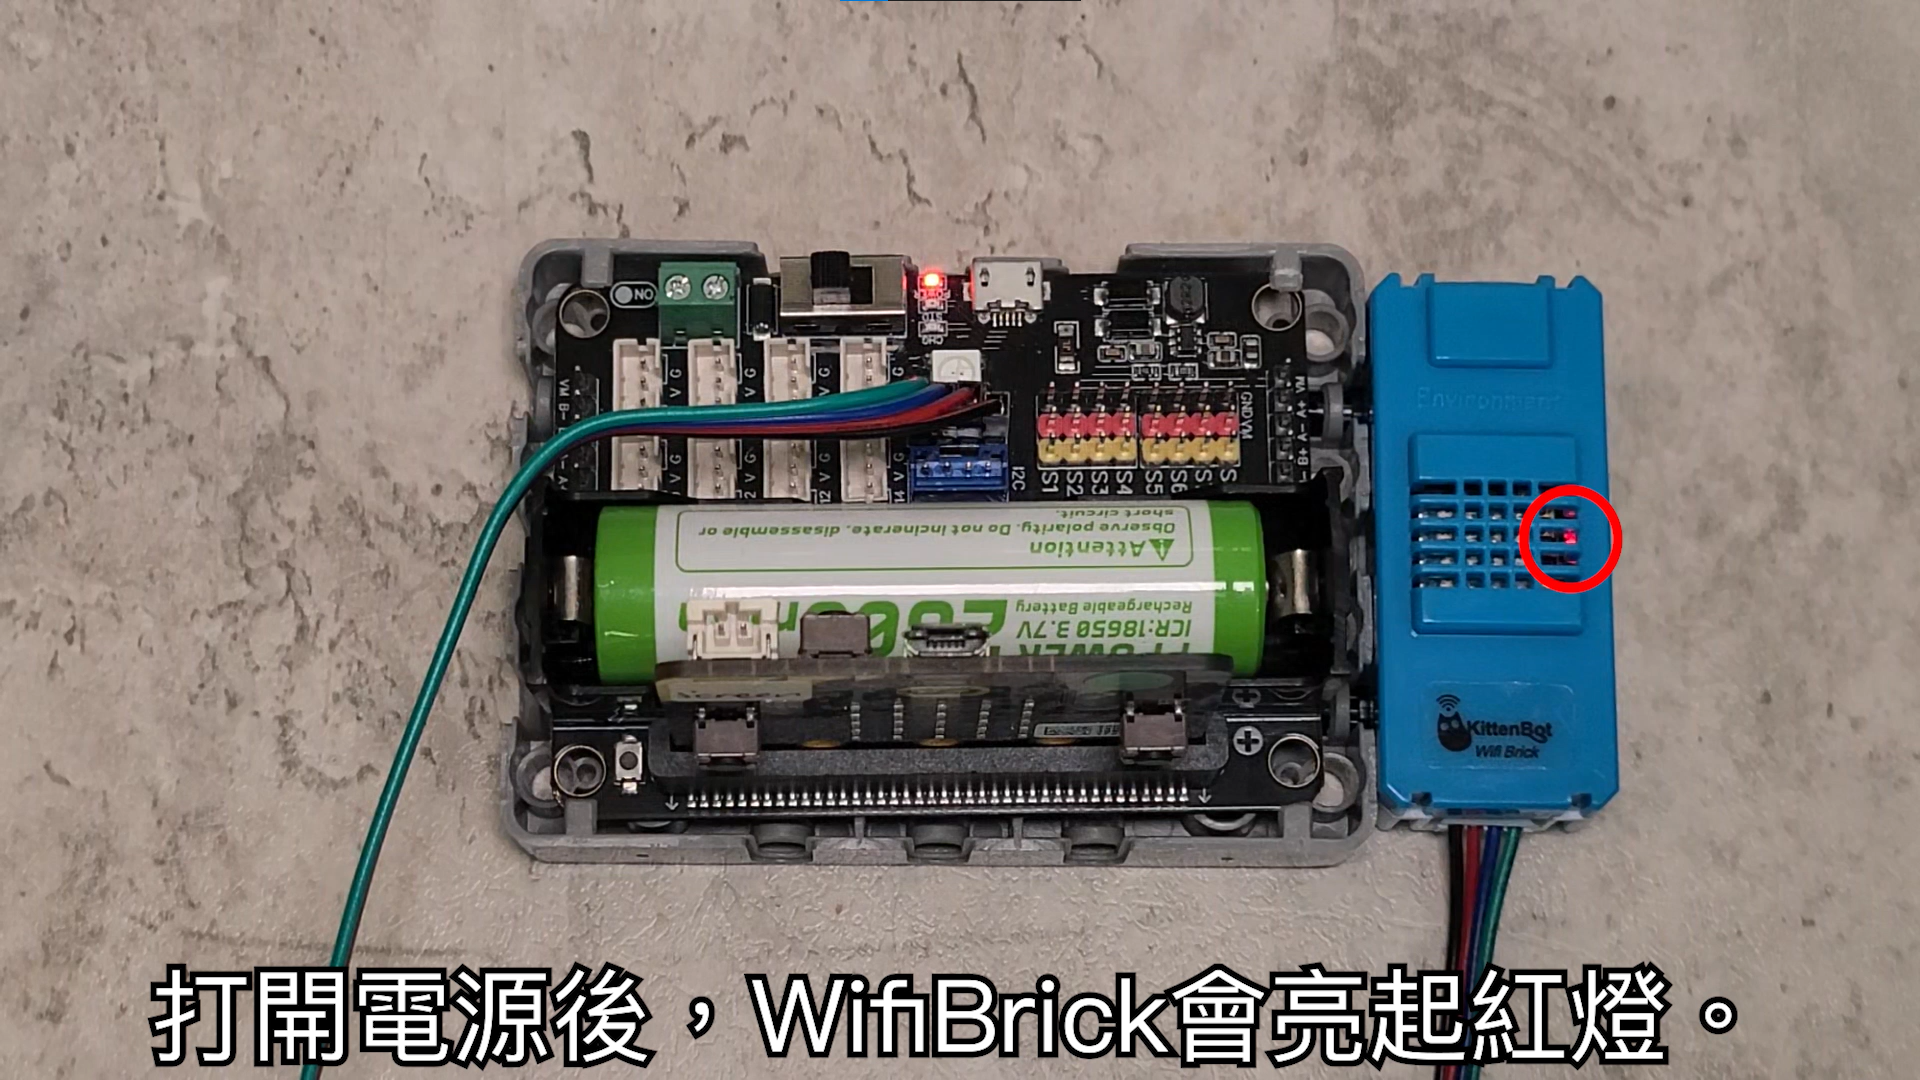
### WifiBrick指示燈詳解
1. 當啟動電源後,紅色燈會亮起。
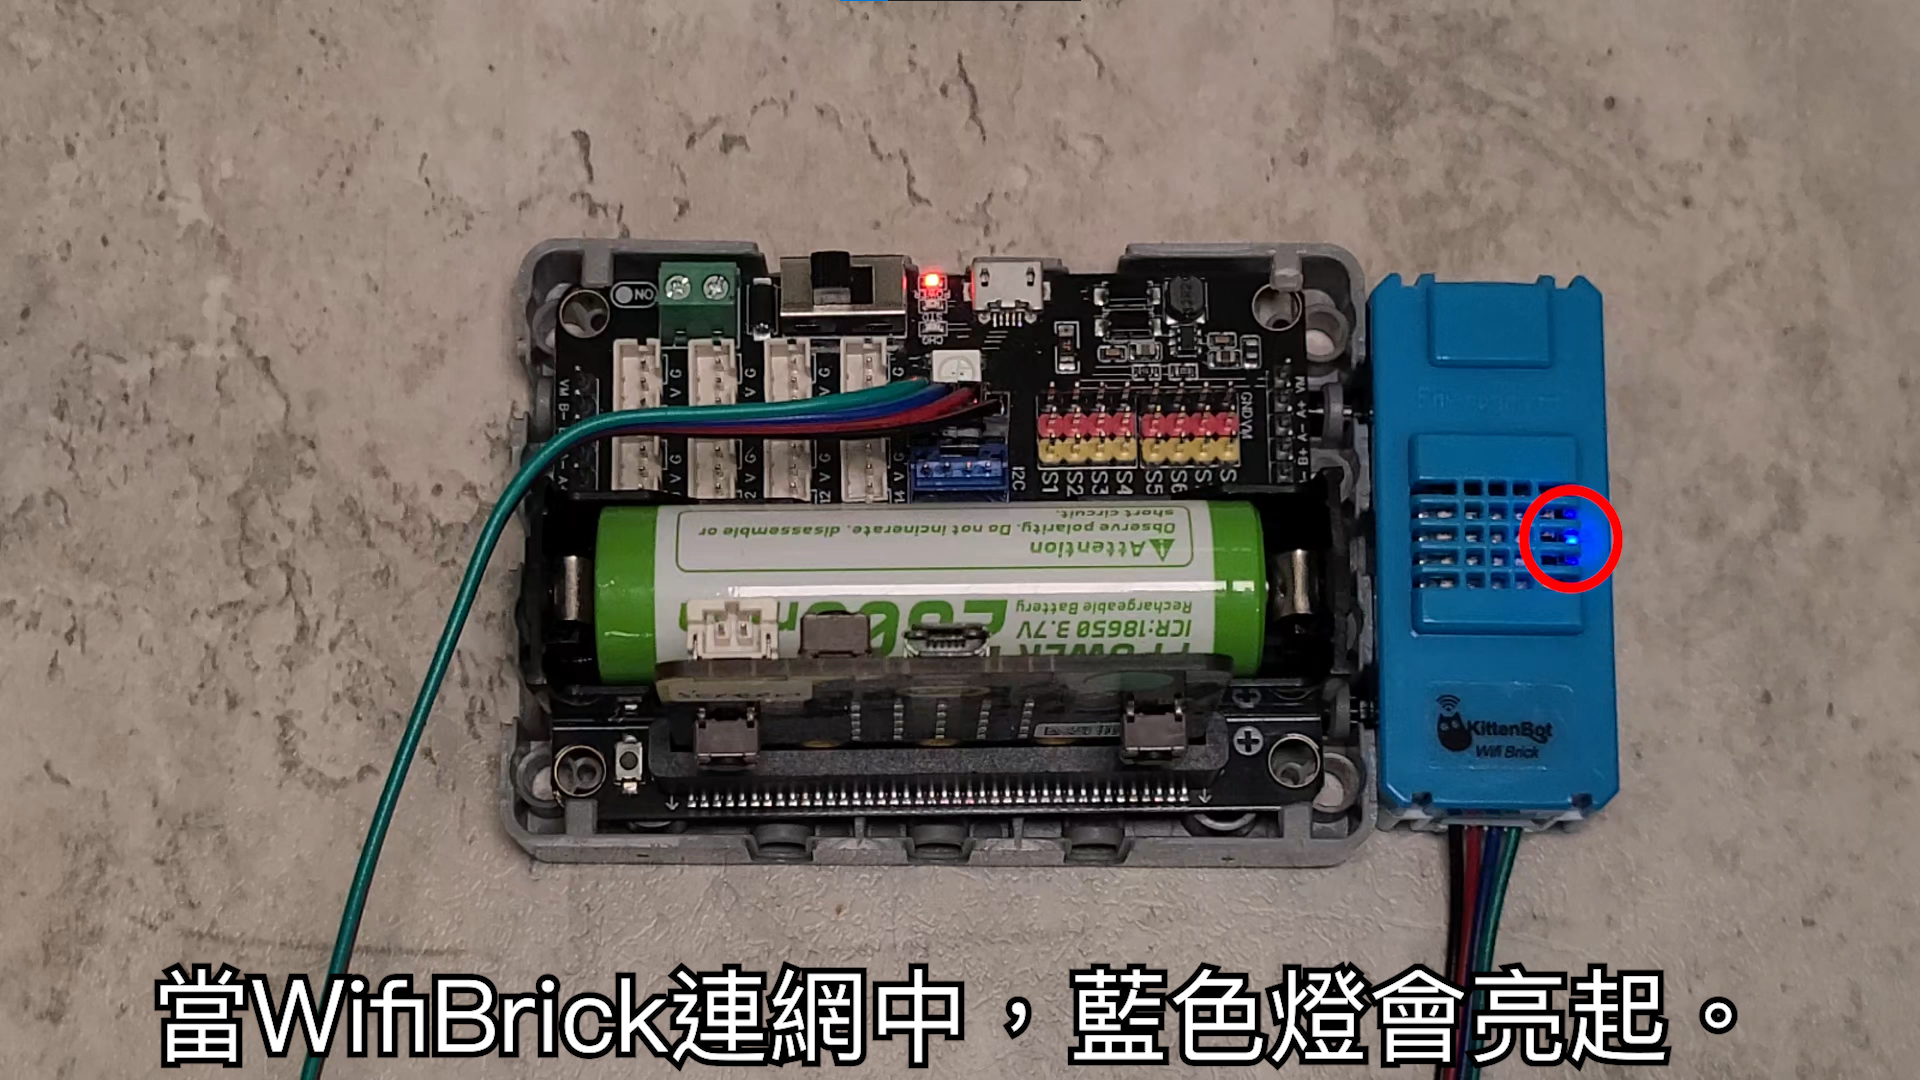
 2. 在連接網絡期間,藍色燈會亮起。
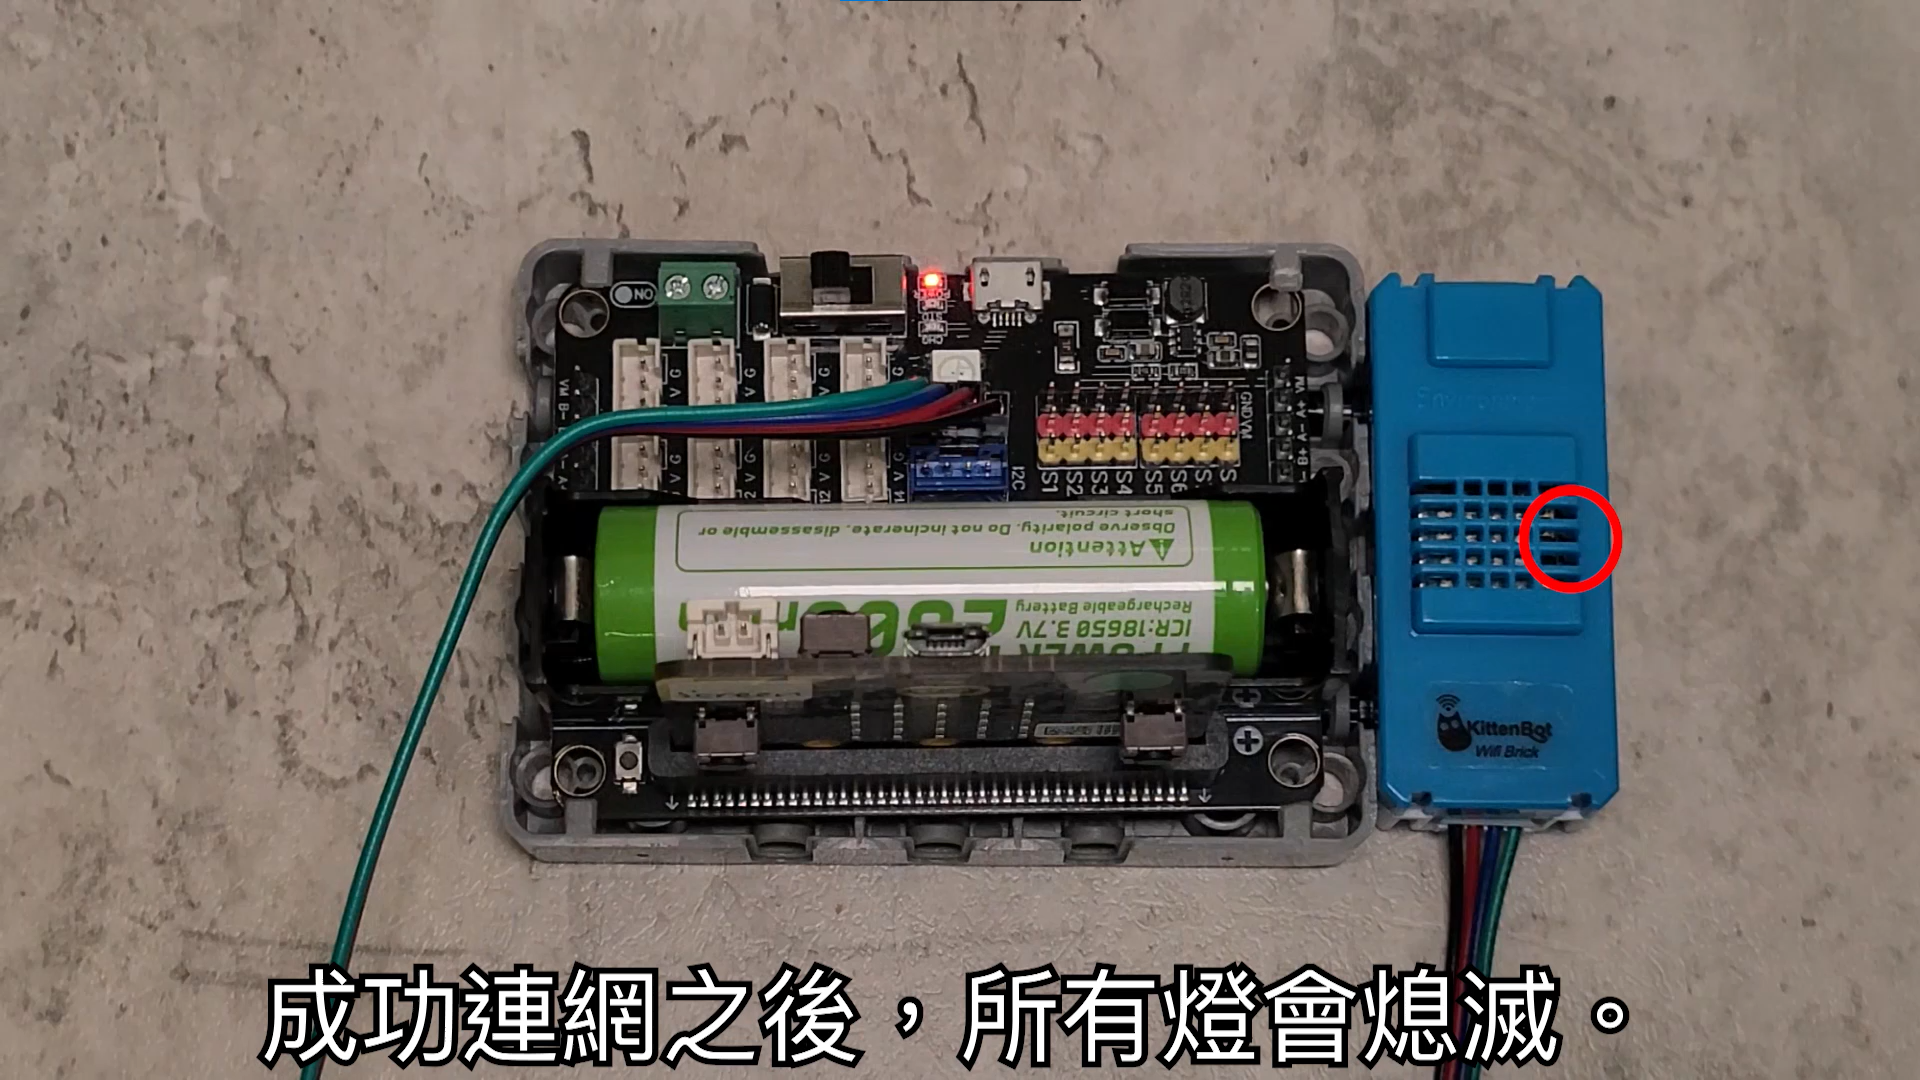
 3. 成功連網之後,所有燈會熄滅。
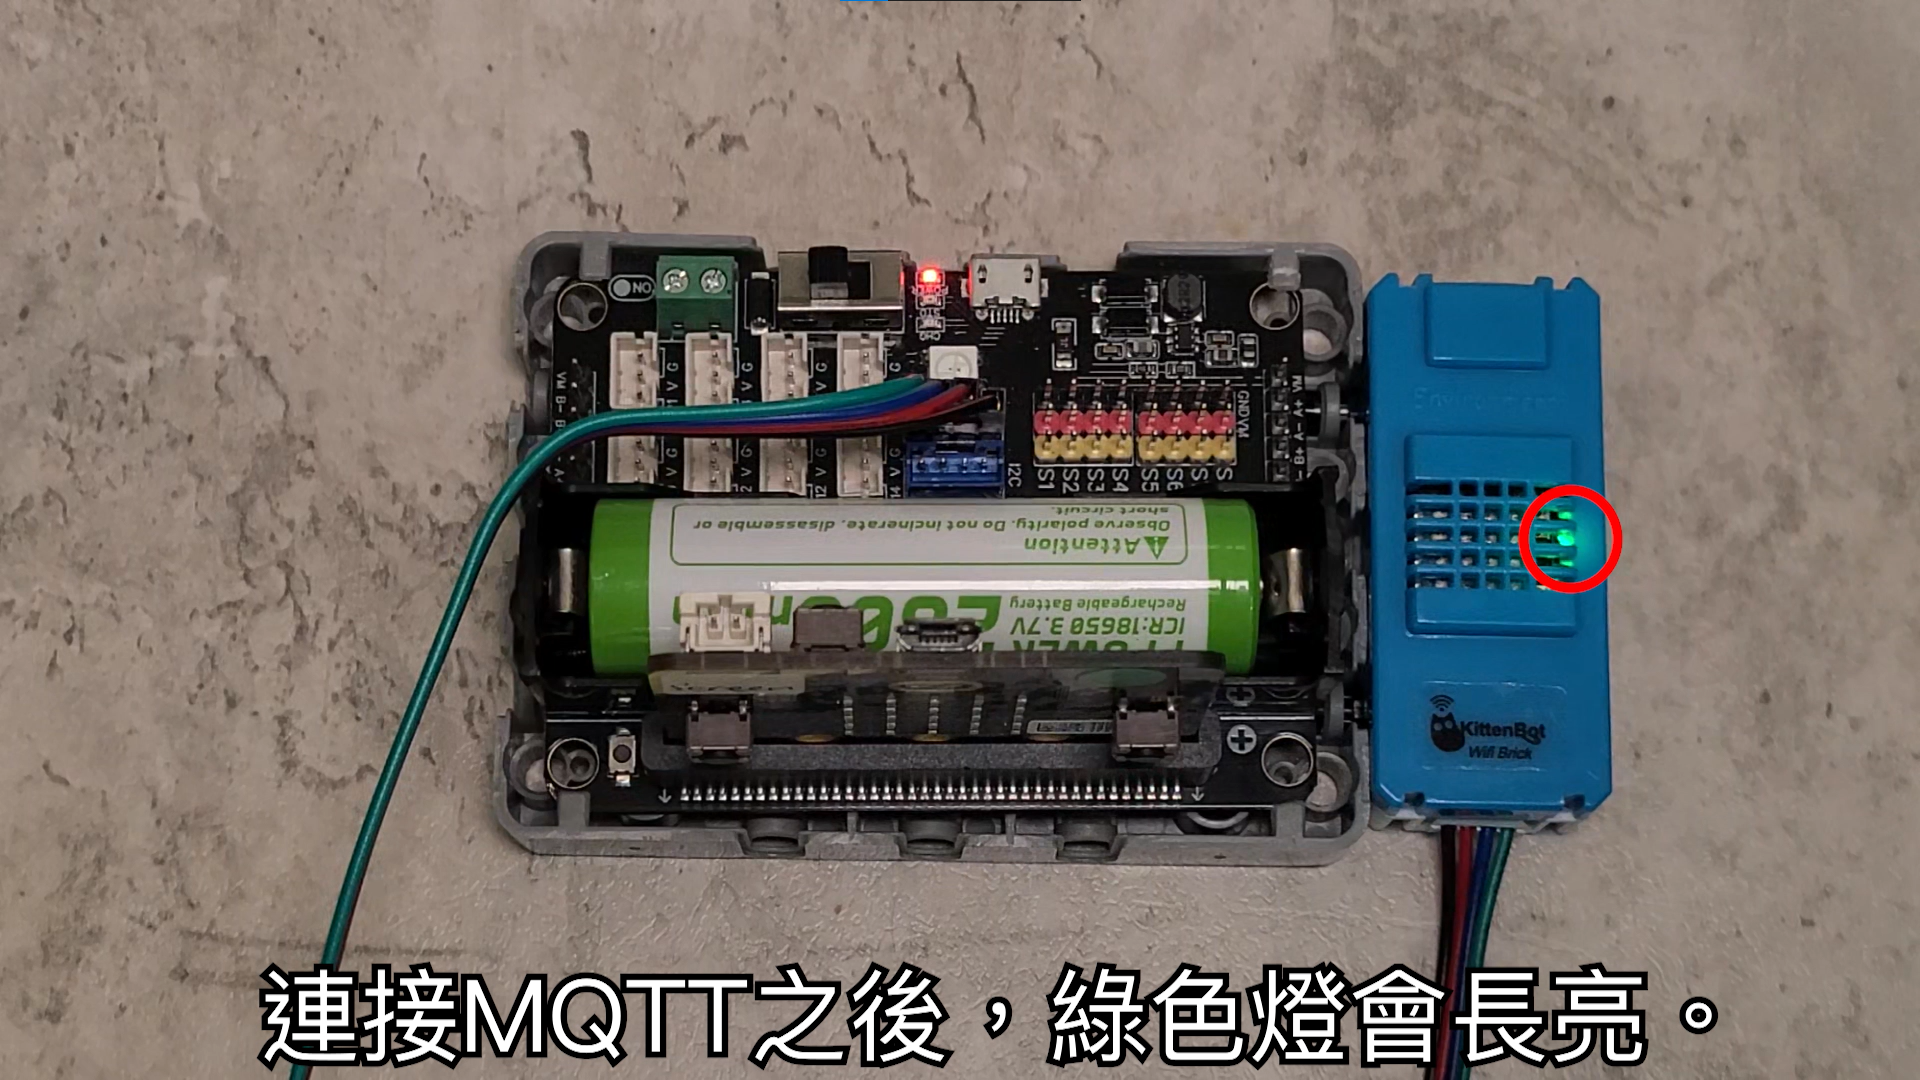
 4. 成功連接MQTT之後,綠色燈會亮起。