> For the complete documentation index, see [llms.txt](https://sharinghub.kittenbot.hk/llms.txt). Markdown versions of documentation pages are available by appending `.md` to page URLs; this page is available as [Markdown](https://sharinghub.kittenbot.hk/wifibrick_iot/iotplatform/thingspeak.md).
# ThingSpeak
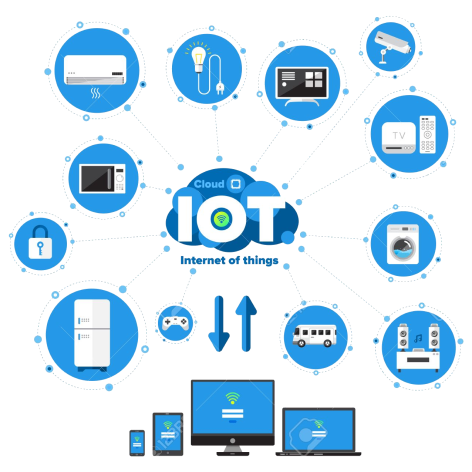
說到IoT (物聯網)教學, 不能不提[thingspeak](https://thingspeak.com/)
它是一個由Mathworks管理, 強大的IoT 分析服務端平台, 讓用家可以把設備(如sensor)所收集的數據, 經過網絡傳送到該平台上 (REST API / MQTT 協議) , 以圖像型式把數據程現或作雲端數據分析。當然, 我們也可以通過thingspeak進行數據互換, 把由A 點上傳的數據, 推送到B點設備上作進一步判斷或應用, 進行實時數據交換。
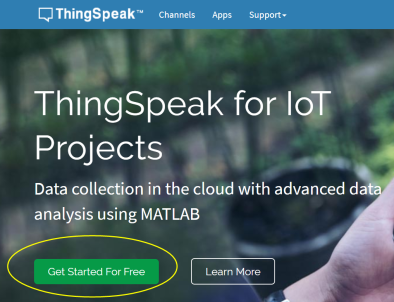
thingspeak是其中一個現時最多新手選用的IoT 平台, 有免費版本也有商用版; 對於剛接觸的初學用家而言, 免費版本的thingspeak 是個不錯的選擇。
更多關於Licence[說明](https://thingspeak.com/pages/license_faq)
### 登記帳戶
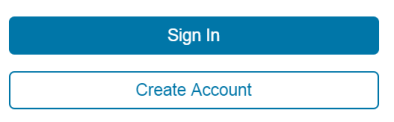
正式使用thingspeak 前, 我們需先登記一個帳戶; 如上文提及, 一般新用戶可先登記一個免費帳戶進入平台
新用戶選Create Acconut; 已登記過的就直接Sign In 便可
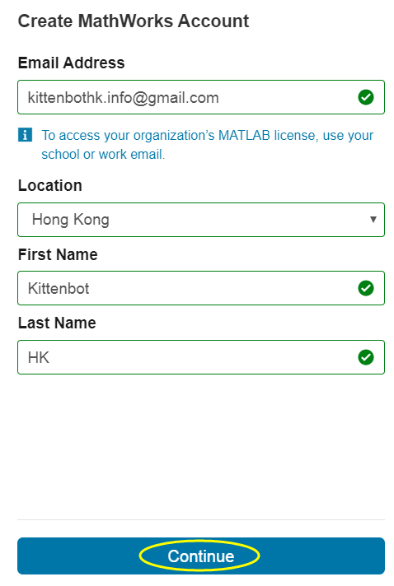
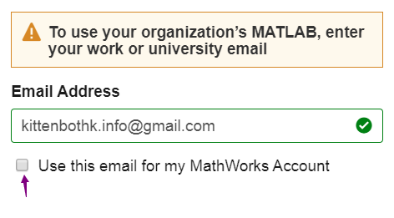
填好資料後便按下Continue
在選項上打剔便可繼續登記程序。
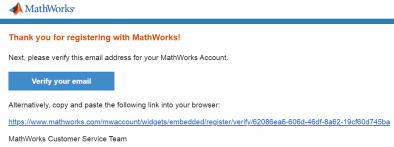
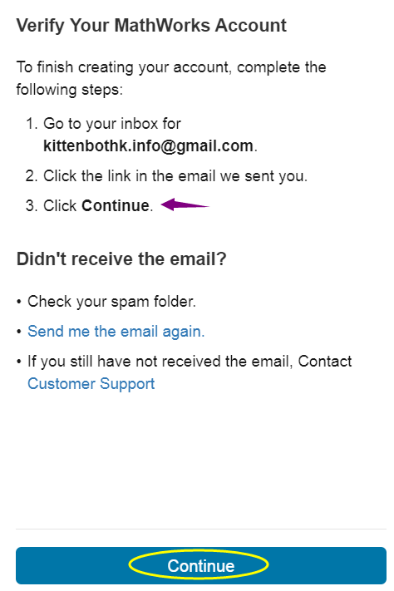
跟據指示, 到所用的郵箱找回確認電郵並完成第2點的核實程序。**此頁面需保留**
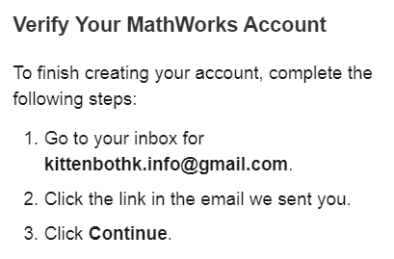
在郵件中點選連結, 完成確認程序。
然後我們需要返回上一頁面, 點選第3項的continue
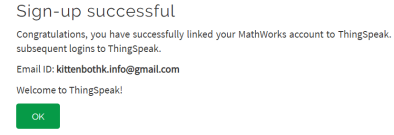
為帳號設定password

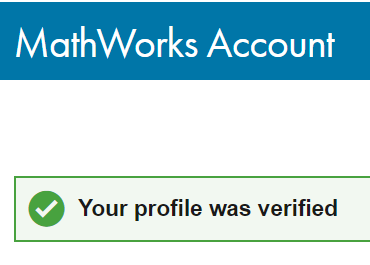
帳號登記成功
### 頁面介紹
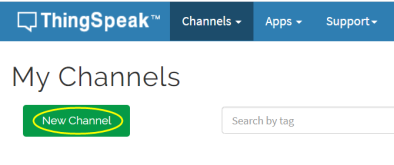
成功登入後, 我們會看到以下頁面。對於新手而言, 最常到的是**Channels**及右手邊的**Profile icon**

在稍後時間使用到相關內容時會再作說明。
新手也可以到**Support** 中碰運氣, 說不定可以進一步找到有用資訊及例子。
### 設立Channel
Channel 是平台為你而設獨有的雙向頻道; 你可以把數據上傳到你指定的Channel, 同時也可從Channel 中獲取數據。免費用戶最多只能設立4個頻道。
按下New Channel
現在我們可以為新設的Channel 設定內容;
\*\* 在輸入內容前, 我們需要理解 **Fields** 的概念
我們可以把具不同意義的數據發送到1條頻道中, 然後數據都會被發配到指定的Field 。換句話, 每個Field就是收集某一指定數據類別的地方, 繼而可生成一個具意思的圖表。
**例子**: 學生想收集101號房的環境數據, 包括光度﹑溫度﹑濕度及聲音指數。
我們可以這樣進行設定
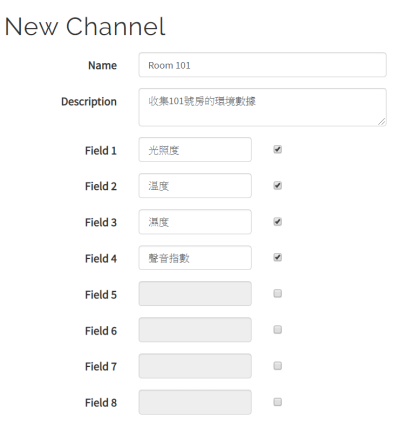
**注意:** 每條Channel 最多只有8個Fields
填寫好內容後按下Save Channel, 系統便會按設定建立了1條獨有的頻道。
[更多設定內容說明](https://ww2.mathworks.cn/help/thingspeak/channel-settings.html)
### Channel 頁面
這就是我們剛才設定的Channel 頁面, 也是用戶常到的位置。
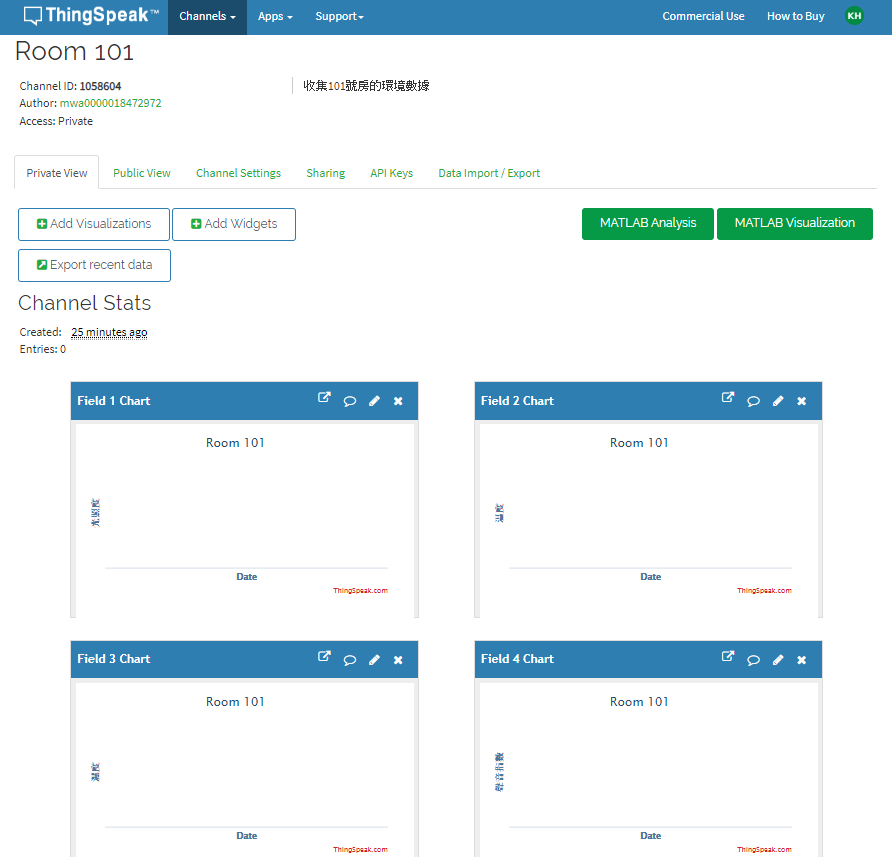
我們可以看到:
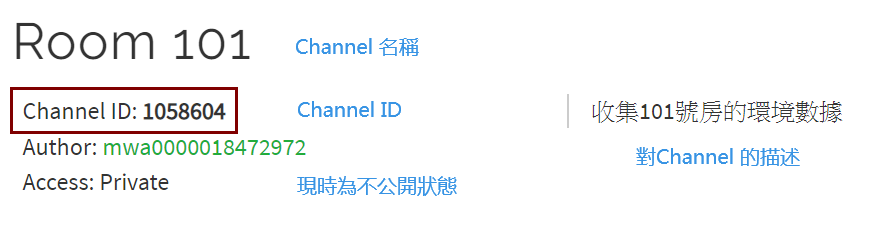
1. 一個由系統為Channel 自動生成的獨有ID, 此ID在稍後編程時候會用上, 可以讓我們把想要的數據送到這條Channel 中。
2. 系統自動把頻道設定為Private; 用戶可以在Sharing 中更改狀態為Public。

免費帳號最多設定3個公開Channel。
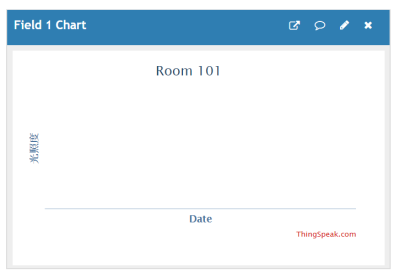
3. 對應我們在上一步設定的數據類型Field Chat。稍後我們上傳的數據值, 便可在個別Field Chart 中看到。
e.g. Field 1 Chart = 光照度
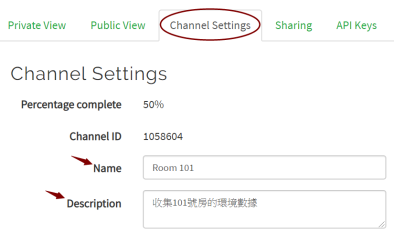
若想修改Channel 內容, 可以到Channel Setting 進行修改:
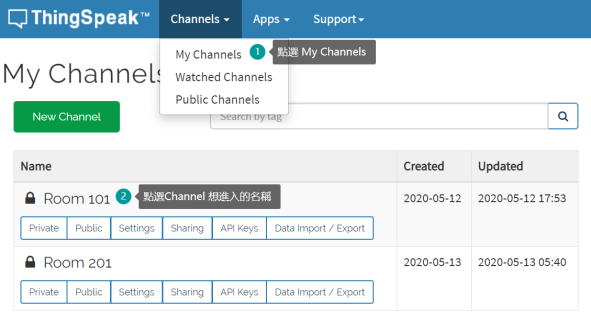
若要從網頁中其他頁面回到指定Channel 頁面, 可按以下步驟進行:
### 發佈與訂閱 (Publish & Subscribe) 須知
**發佈 (Publish)** 與\*\*訂閱 (Subscribe)\*\*是IoT 中2個重要的概念。 簡單來說, 發佈就是把數據推送到Field 中; 相反, 訂閱就是設備從雲端中讀取數據。
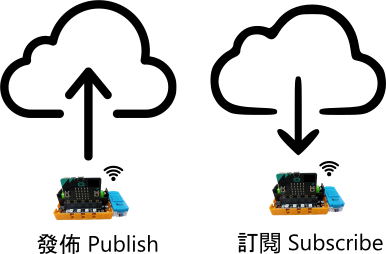
#### 發佈 (Publish)
當我們想把數據發佈到thingspeak 某一Channel時, 需要先獲取該Channel 的**Write API Key**
例如我們想把光亮度發佈到Room 101, 需先到該Channel 頁面, 再進入**API Keys**頁面
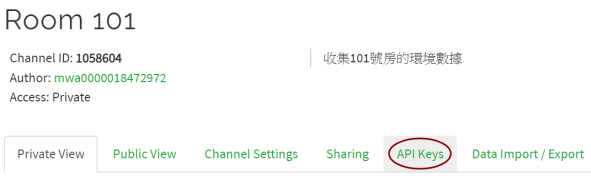
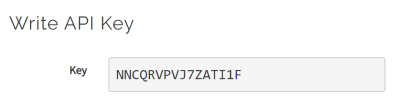
以下就是Room 101 Channel 的Write API Key , 在編寫發佈程式時就會用上
#### 訂閱 (Subscribe)
相對發佈, thingspeak 對訂閱的安全設定比較高; 當我們想要從thingspeak 獲取任何Channel 的數據, 必須先獲得該帳號的MQTT API Key。
在頁面中的右上角, 點選Profile icon 開啟選單, 然後點選My Profile
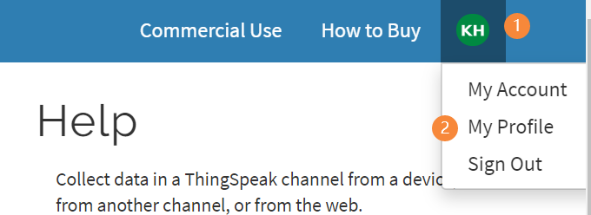
進入頁面後住下拉, 就會看到MQTT API Key, 在下一個關於編程的編章中, 講及如何訂閱Channel時會用上這個 MQTT API key

thingspeak 有MathWorks 作為後台, 其付費版含強大的高階功能, 有興趣的發燒友可一步步了解其他功能。
### Makecode 編程與ThingSpeak
[Makecode編程教學](https://kittenbothk.readthedocs.io/en/latest/Wifibrick/MakeCode/thingspeak.html)
---
# Agent Instructions
This documentation is published with GitBook. GitBook is the documentation platform designed so that both humans and AI agents can read, navigate, and reason over technical content effectively. Learn more at gitbook.com.
## Querying This Documentation
If you need additional information that is not directly available in this page, you can query the documentation dynamically by asking a question.
Perform an HTTP GET request on the current page URL with the `ask` query parameter, and the optional `goal` query parameter:
```
GET https://sharinghub.kittenbot.hk/wifibrick_iot/iotplatform/thingspeak.md?ask=&goal=
```
`ask` is the immediate question: it should be specific, self-contained, and written in natural language.
`goal` is optional and describes the broader end goal you are ultimately trying to accomplish on behalf of the user. GitBook uses it to tailor the answer towards what is most useful for that goal.
The response will contain a direct answer to the question and relevant excerpts and sources from the documentation.
Use this mechanism when the answer is not explicitly present in the current page, you need clarification or additional context, or you want to retrieve related documentation sections.